Recipe
How to Make Sheet Pan Lasagna
November 12, 2025
Meat
Smoking meat at home can create rich flavor, soft texture, and deep aroma. Learning how to smoke meat like a pitmaster at home is about using time, heat, wood, and patience in the right way.
Smoking meat at home can create rich flavor, soft texture, and deep aroma. Learning how to smoke meat like a pitmaster at home is about using time, heat, wood, and patience in the right way.
Many beginners struggle with temperature control, choosing the right wood, and knowing when the meat is ready. This guide explains every step clearly so that a first smoke can taste close to pitmaster-level results.
Smoking meat uses low and slow cooking to break down tough fibers and melt fat. This creates tender meat without drying it. Pitmaster technique depends more on control than on having a special smoker.

Temperature stability matters more than equipment price. Even a simple grill can work when the heat is kept steady and indirect. Flavor comes from the meat, seasoning, and clean smoke, not from heavy or harsh smoke.
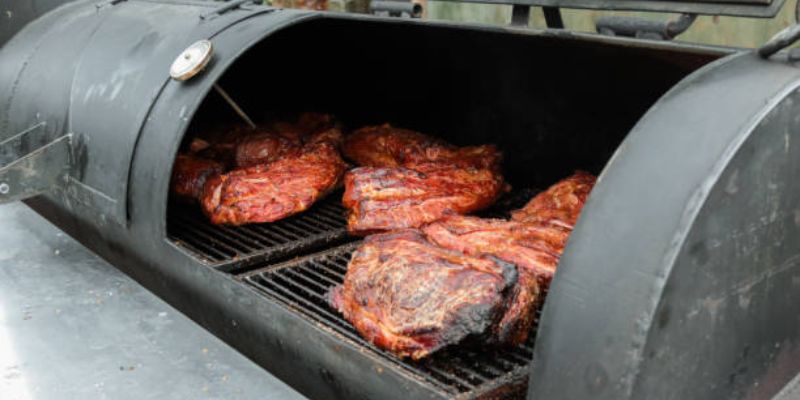
Offset smokers use a side firebox. They produce a strong flavor but need careful fire management.
A vertical smoker uses a water pan to keep the temperature steady. Many backyard setups from brands like Weber are shaped this way and are easy to learn on.
Pellet smokers feed wood pellets automatically, which keeps the heat level. They are simple to operate and are common in many home setups such as those made by Traeger.
These models focus on convenience. Smoke flavor is lighter, but the temperature stays steady.
A regular grill can be used with indirect heat. Place coals on one side and meat on the other. Add wood to the coal for smoke.
Brisket needs long cooking to soften thick fibers. Proper smoking turns it tender.
This cut is forgiving and stays juicy. It is a strong choice for a first attempt.
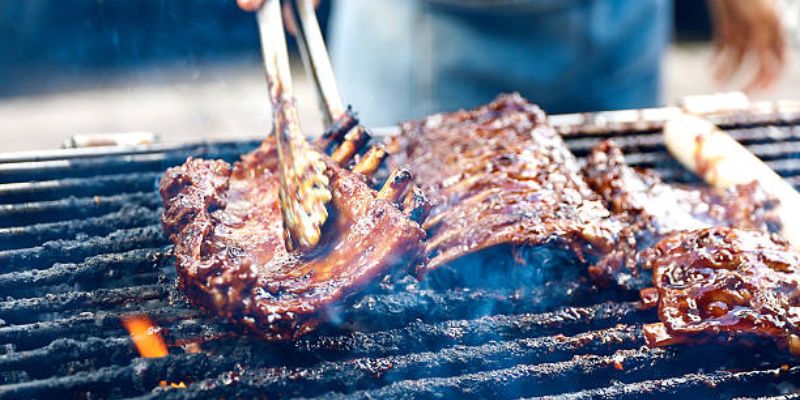
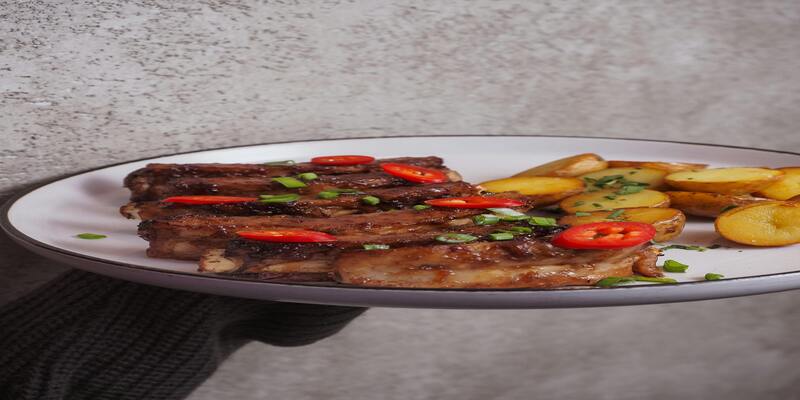
Ribs need timing so they are tender but not falling apart.
Chicken benefits from brining before smoking so it stays moist.
Fats melt during cooking and help keep meat soft. Lean cuts dry faster unless brined or marinated.
Hardwood is the only type used for smoking. Softwood creates harsh, bitter smoke.
Oak: Balanced flavor
Hickory: Strong and classic
Apple or Cherry: Mild and sweet
Mesquite: Very bold and should be used in small amounts
Chips burn fast. Chunks burn slower. Pellets fit pellet smokers. Splits fit offset smokers.
Clean smoke looks light or almost invisible. Thick white smoke means the fire needs more airflow. Briquettes like those from Kingsford can help maintain a steady heat when learning.
Remove thick fat layers but leave a thin layer to protect the meat.
A simple mix of salt, pepper, sugar, and mild spice gives strong flavor without complexity.
Season and leave uncovered in the fridge overnight to boost flavor and tenderness.
Place the heat and smoke source away from the meat.
Open vents increase heat. Closing vents lowers it. Adjust slowly.
A water pan stabilizes heat and adds light moisture to the chamber.
Keep the temperature between 225°F and 250°F for most smoked meats.
Place the meat with the fat side up so juices run over the surface.
Add wood in small amounts. Too much smoke turns bitter.
Use a digital probe thermometer. Internal temperature is more important than time.
The stall happens when moisture slows the rise in temperature. It is normal.
Wrap when the internal temperature stalls to keep moisture in.
Foil traps moisture and speeds cooking. Butcher paper lets meat breathe while still holding heat.
Rest for 30–90 minutes so juices spread evenly inside the meat.
Slice against the grain for tenderness. Serve the sauce on the side so flavor remains balanced.
Using too much wood
Opening the smoker too often
Letting the heat rise too high or fall too low
Using strong wood before learning control
Skipping resting time
Digital probe thermometer
Heat-resistant gloves
Sharp carving knife
Spray bottle with water or apple juice
Trim and season the pork shoulder the night before.
Heat smoker to 225°F.
Place the meat inside and add a small amount of wood.
Maintain steady heat and airflow.
Wrap during the stall.
Rest before slicing or pulling.
Learning how to smoke meat like a pitmaster at home is about controlling temperature, using clean smoke, and giving meat time to rest. With patience and regular practice, texture and flavor improve steadily. The method becomes easier each time.

Recipe
November 12, 2025

Nutrition
October 21, 2025
Nutrition
October 16, 2025
Nutrition
October 30, 2025

Meat
October 2, 2025
Meat
October 30, 2025

Dessert
September 29, 2025

Recipe
October 26, 2025

Beverage
September 30, 2025

Meat
October 22, 2025